





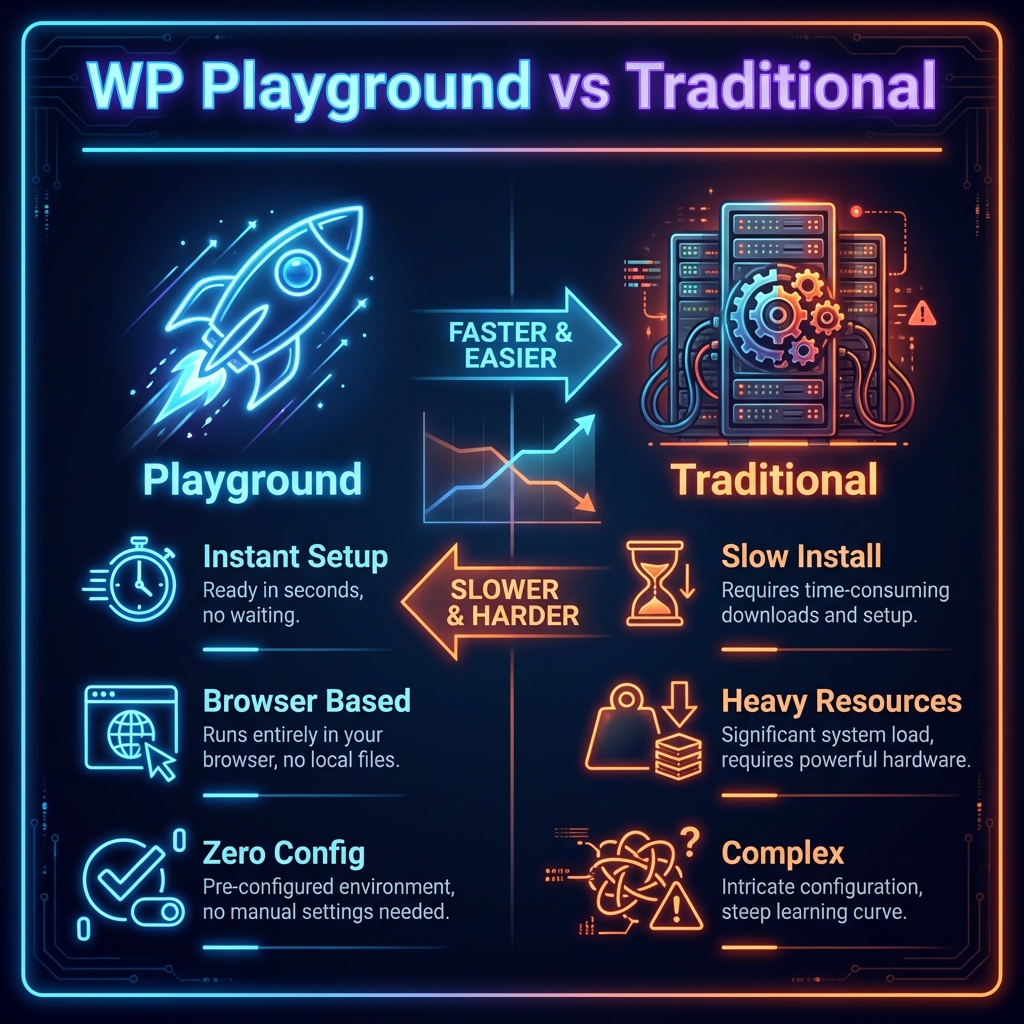
In the era of modern web development, setting up a local WordPress environment is often associated with familiar names such as XAMPP, WAMP, LocalWP, or Docker. However, all of these solutions share one weakness: they require software installation, database configuration, port handling, and consume significant computer resources.
What if I told you that you could run a “spotlessly clean” WordPress instance in just 3 seconds, right in your browser, without installing anything, and most importantly... your AI Agent could automatically use it to test code? Welcome to WordPress Playground and the skill wp-playground.
In this article, we will take a deep dive into understanding, installing, and harnessing the power of this amazing tool.
What Is WordPress Playground and Why Is It So “Hot”?
WebAssembly (Wasm) Technology
WordPress Playground is neither a hosting service nor a traditional server emulation software. It uses WebAssembly (Wasm) to run PHP, MySQL (SQLite), and a Web Server directly in your browser (or in a Node.js environment).
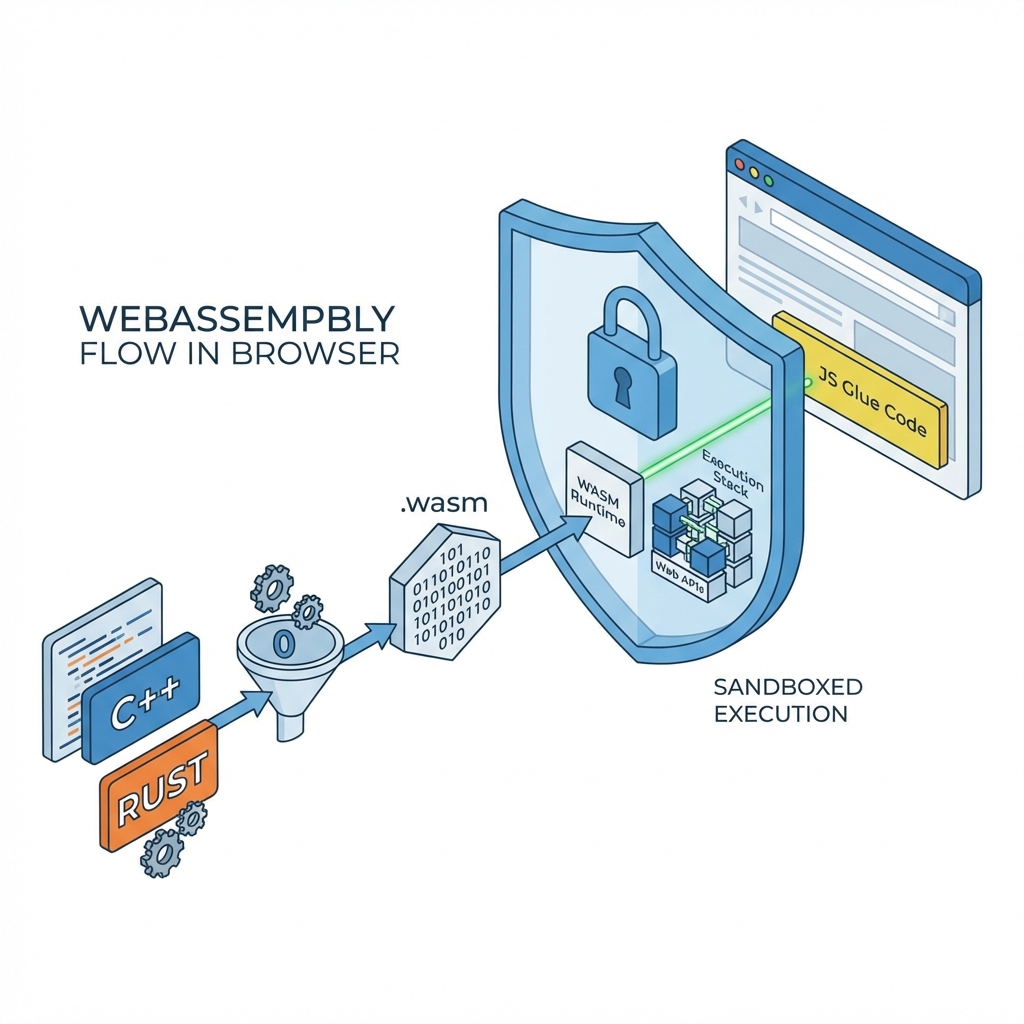
This means:
- No Server: Your computer does not need to run Apache or Nginx.
- No Database: There is no need to install MySQL or MariaDB. All data is stored in memory or in an SQLite file.
- Complete Isolation (Sandbox): Every time you turn it off and back on, everything disappears (unless you configure persistence). This is absolutely fantastic for testing.
Skill wp-playground for AI Agent
For developers who use AI (such as Claude, ChatGPT, or Gemini) to write code, wp-playground it acts as the AI's “hands”. Instead of AI simply giving you code and saying “give it a try”, it can launch Playground itself, install the code, check whether it runs, and fix errors automatically if any occur.
Detailed Installation Guide
To use this skill, you need a Node.js environment.
1. Prepare the Environment
Make sure your computer has Node.js installed (version 20 or higher is recommended). You can check by opening a terminal and typing:
node -v
If you do not have it, download it from the official website nodejs.org.
2. Install the Agent Skill Package
Skill wp-playground is part of the WordPress community's skill collection. To install it, open a terminal in your project directory and run the command:
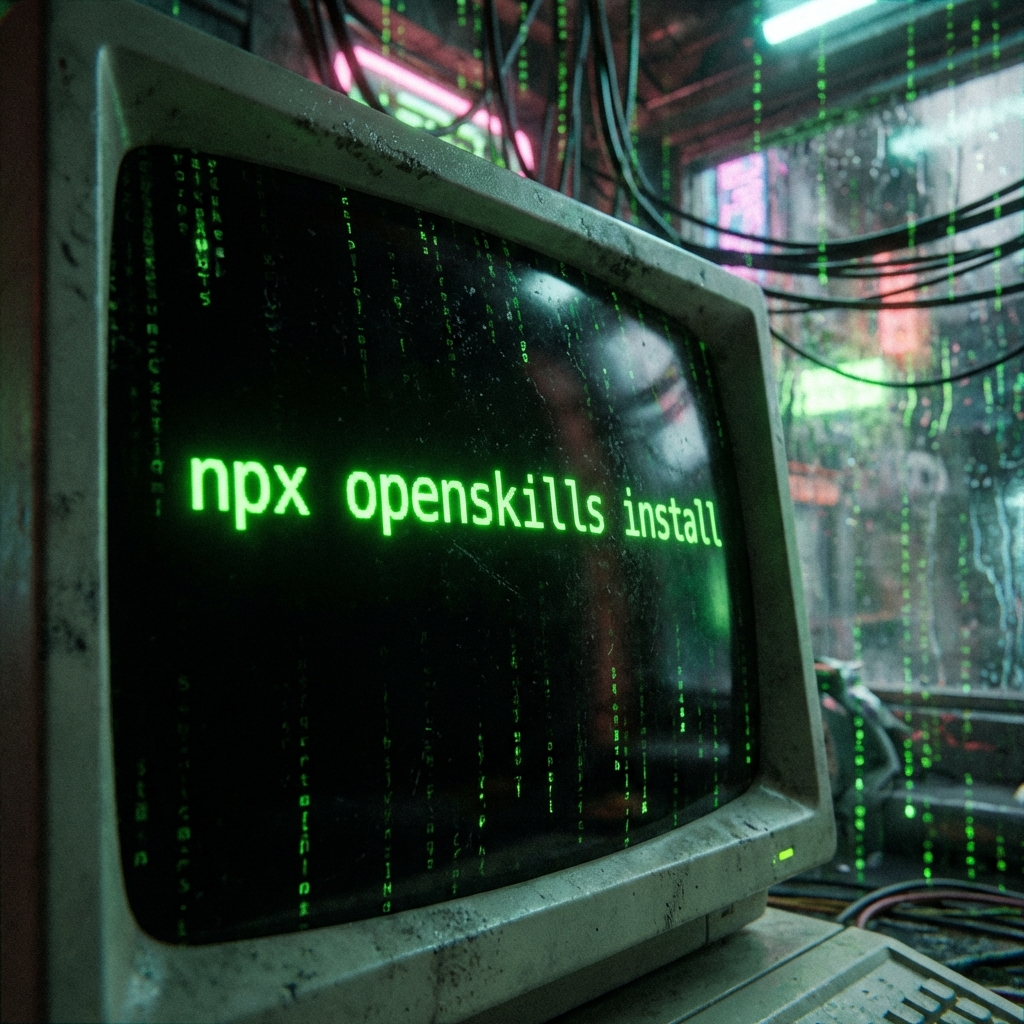
npx openskills install WordPress/agent-skills
This command will download the skills into the directory .claude/skills (or a similar location depending on your configuration).
3. Synchronize (Sync)
After downloading, you need to let your AI Agent know that this skill is available:
npx openskills sync
That's it! Your AI Agent has now “learned” a new skill.
How to Use WordPress Playground (Hands-on)
You can run Playground directly from your terminal. There are two main methods depending on the operating system you are using.
Method 1: Use the CLI Command (Recommended for Windows)
If you are using Windows (PowerShell or CMD), the simplest way is to call the Playground CLI directly.
Imagine you are in the project directory (e:GITHUBwordpress) and want to run a test. Execute the command:
npx @wp-playground/cli server --login --auto-mount ./wp-content
Parameter explanations:
npx @wp-playground/cli server: Calls the CLI to start the server.--login: Automatically logs you into the Admin Dashboard with the highest privileges. You will not need to enter a username/password manually.--auto-mount ./wp-content: This is the most important parameter. It tells Playground: “Take my./wp-contentcurrent directory and mount it to the directorywp-contentof the virtual WordPress installation”. As a result, all the plugins and themes you are developing will appear in WordPress.
Method 2: Use a Shell Script (Linux / macOS / WSL)
If you use Mac or WSL (Windows Subsystem for Linux), the skill provides a more convenient script:
./scripts/start-server.sh --login --auto-mount ./wp-content
Default Login Information
If the auto-login feature does not work, or you want to log in manually in another browser, use the following information:
- Username:
admin - Password:
password
Example: Build a “Book Management” Plugin in 5 Minutes
To see the power of this workflow clearly, let's try creating a new feature.
Step 1: Create the Directory Structure
Create the directory wp-content/plugins/test-plugin and file test-plugin.php.
Step 2: Write the Code (or Ask AI to Write It)
We will register a Custom Post Type called “Book”:
 ['name' => 'Books', 'singular_name' => 'Book'],
        'public' => true,
        'has_archive' => true,
        'menu_icon' => 'dashicons-book',
        'supports' => ['title', 'editor', 'thumbnail'],
    ]);
});
Step 3: Run a Test
Run the CLI command above. A browser will open.
Go to the Plugins, and activate “My First Book Plugin”.
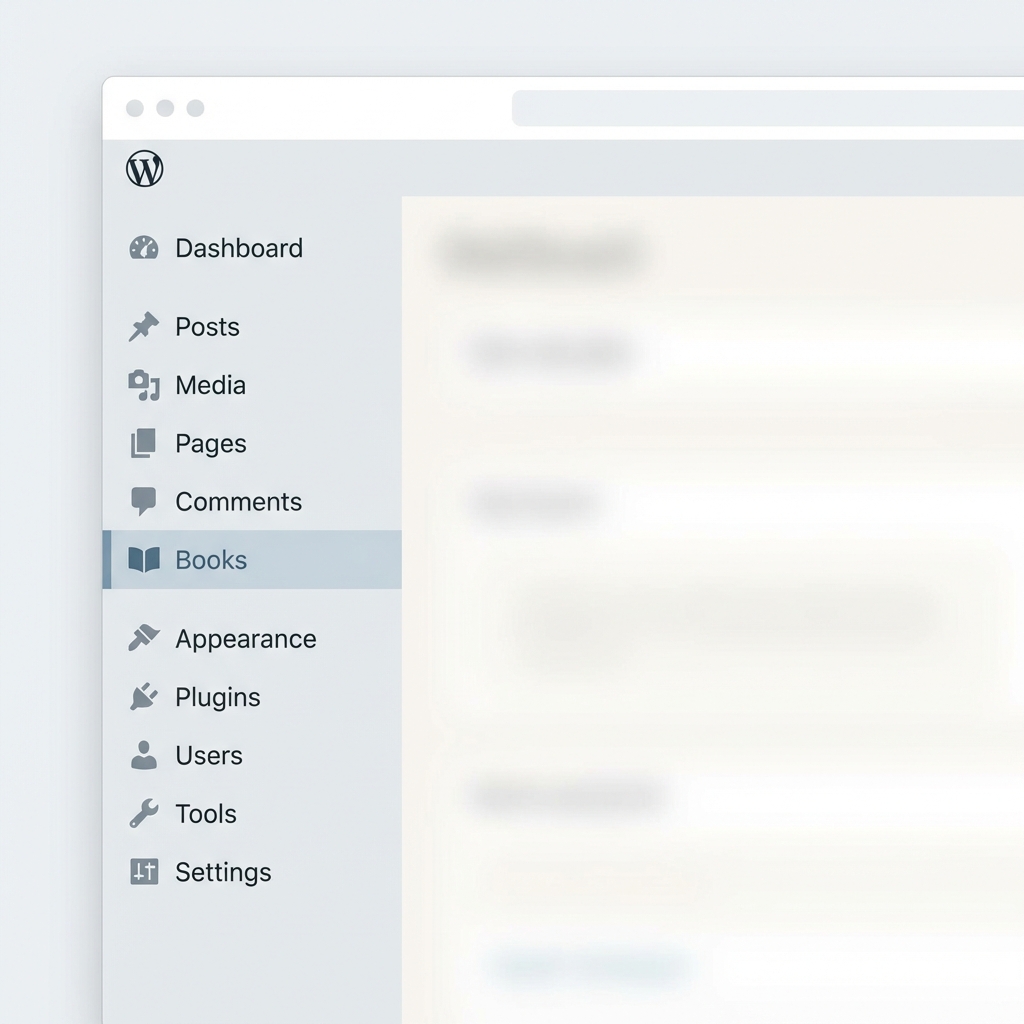
Immediately, you will see the Books menu appear on the left.
Step 4: Fix Errors and Update
Want to change the book icon to something else? Modify the line 'menu_icon' => 'dashicons-book' to 'menu_icon' => 'dashicons-media-document'.
Save the file.
Return to the browser and press F5. The icon has changed! No need to restart the server or deploy.
Comparison with Other Solutions
Why Is This the Future of WordPress Development?
WebAssembly technology is changing the way we think about software. With wp-playground, the barrier to getting started with WordPress development is almost zero.
- For Education: Instructors can send a link, and students can click it to get an instant hands-on environment, without spending an entire session installing XAMPP.
- For Client Demos: You can send a working plugin demo that runs directly in the browser, without the client needing a server.
- CI/CD Testing: Integrate it into GitHub Actions to automatically test code whenever there is a new commit, extremely quickly.
Read More: To better understand how AI Agents interact with WordPress, don't miss the article WP MCP Connect: “All-in-One” Solution Connecting AI Agents with WordPress.
Conclusion
Skill wp-playground it is not just a new tool, it is a new mindset in the development workflow. It makes WordPress development much lighter, more flexible, and much more enjoyable. If you haven't tried it yet, install it today and experience the difference. Surely you (and your AI Agent too) will love it!

Ý kiến bạn đọc (9)
Đăng nhập để bình luận
Đăng nhập nhanh 1-chạm bằng Google để chia sẻ ý kiến của bạn về bài viết.
Bằng cách đăng nhập, bạn đồng ý với điều khoản và chính sách cộng đồng.
Chưa có bình luận nào. Hãy là người đầu tiên chia sẻ cảm nghĩ!
Đăng nhập / Tạo tài khoản
Đăng nhập với Google để gửi bình luận và tương tác cùng cộng đồng.
Tiếp tục là đồng ý với điều khoản sử dụng và chính sách bảo mật của DPS Media.