




Guide: How to Remove the NotebookLM Watermark from PDF Slides & Images for Free
Google's NotebookLM has become a powerful tool that helps users summarize documents, research information, and automatically create impressive presentations (slides). However, a major drawback is that slides published from this platform always come with a default faint logo (watermark) in the bottom-right corner.
If you are looking for how-to-remove-notebooklm-watermark-from-slides (how to remove the NotebookLM logo from presentation pages) quickly, cleanly, and completely free of charge, then the tool Free NotebookLM Watermark Remover is the perfect solution for you.
Introducing the Free NotebookLM Watermark Remover Tool
Free NotebookLM Watermark Remover is an open-source application that runs directly in your web browser. This tool is developed based on the smart texture cloning algorithm from the project NotebookLM watermark remover GitHub (SlideClean), which completely removes the logo area without reducing the quality of the slide's original content.
Outstanding features:
- NotebookLM watermark remover PDF: Supports direct processing of entire multi-page PDF slide documents.
- Remove NotebookLM watermark PNG / JPG: Allows you to quickly upload and process individual slide screenshot image formats.
- Absolute security: The logo removal process runs 100% locally (Local sandbox) in your browser. Your file is never uploaded to any server, ensuring maximum personal data security.
- Advanced removal area customization: Intuitive sliders allow you to adjust the size (Width/Height) and margin spacing (Margins) to perfectly match the logo on your document.
Guide: How to Remove the NotebookLM Logo from Slides (Step by Step)
To clean your presentation slides, follow the 3 simple steps below:
Step 1: Upload the file to the tool
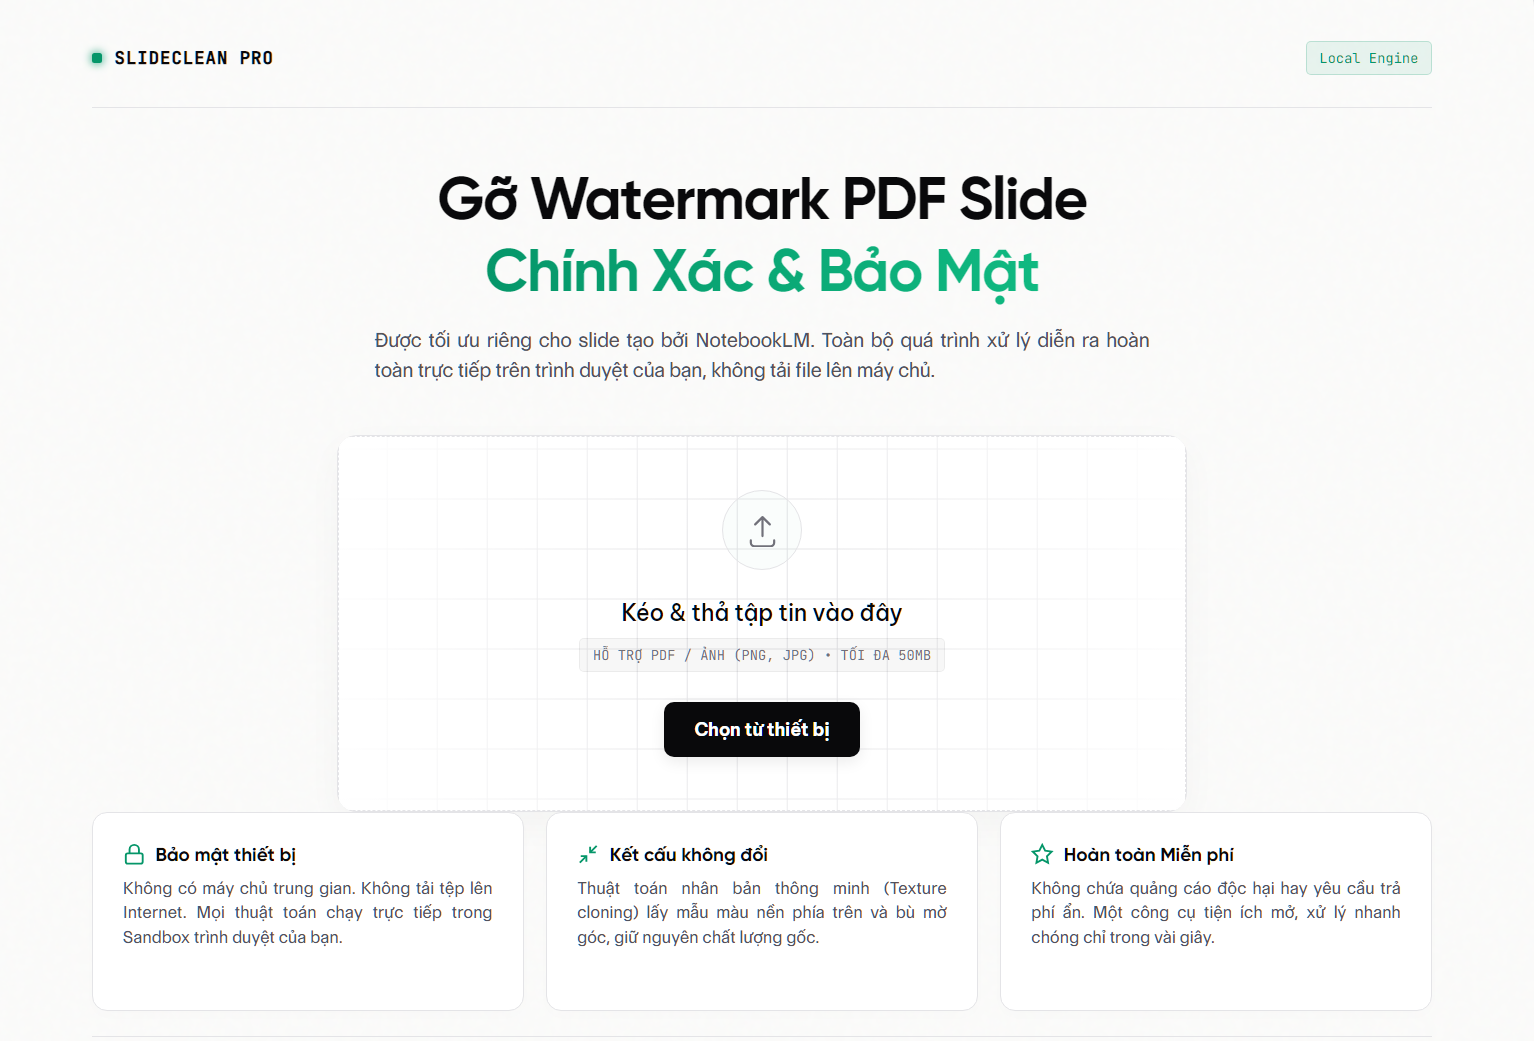
Drag and drop your PDF slide file or slide image into the upload area above (or click “Select from device”).
Step 2: Automatic Processing & Customization (If Needed)
As soon as the file is uploaded, the system will perform an anti-spam security check and open the Fullscreen workspace interface. The system NotebookLM Remover will automatically extract the pages and process the watermark area in the bottom-right corner.
If your logo has a non-standard size:
- Look at the preview frame (Preview) on the first page.
- Move the sliders Width, Height, Right margin, Bottom margin so the red box tightly surrounds the logo.
- Analyze data from Zalo OA to improve marketing strategies “Apply & re-process” so the system can smoothly patch the background texture from above over the logo.
Step 3: Download the clean file
After the patching process is complete, click the button “Download Clean File” to save the newly cleaned PDF or image file to your device.
Frequently Asked Questions (FAQs)
1. Is there a Notebooklm watermark remover video tool?
Currently, NotebookLM only exports presentation slides as PDF documents or static images. Therefore, specialized tools such as NotebookLM watermark remover PDF focus on optimizing flat document pages. For needs related to Notebooklm watermark remover video, you will need professional video editors to crop the image corners or use specialized video object removal software after exporting the slides as a clip.
2. Is this tool's source code trustworthy?
Completely trustworthy. This tool is developed based on the project NotebookLM watermark remover GitHub well-known in the open-source community. All processing code (using the PDF.js and jsPDF libraries) runs client-side in the user's browser, and you can easily inspect the data transmission flow through the F12 Network panel to verify security yourself.
3. Does this tool have a file size limit?
To ensure your browser runs smoothly without running out of memory (RAM), the tool recommends processing PDF slide files or images with a maximum size of 50MB.
Wishing you the most professional, clean, and impressive presentation slides!