






One fine day, you visit your website and discover that the interface has been altered, or worse, customers report being redirected to strange gambling websites. When you access the admin dashboard, you notice a few unfamiliar admin accounts that you are certain you never created. Clearly, your website has been infected with malware. At this point, quickly finding a way handle wordpress hacked is crucial for protecting customer data, maintaining brand reputation, and avoiding being placed on Google's dangerous site warning list.
In reality at DPS.MEDIA, we handle many website emergency cases in similar conditions. Most recently, it was the system of An Tam Pharmacy, organic traffic dropped severely by 45% within just a few days. After taking over, the technical team at DPS.MEDIA reviewed the site and discovered 2 fake plugins with the function of creating hidden admin accounts along with 1 fake Google Tag Manager mu-plugin used to inject malicious redirect code. With an optimized remediation process, we cleaned up the malware and restored the website to stable operation in exactly 2 working hours.
To help administrators self-troubleshoot or review technicians' work, DPS.MEDIA would like to share the standard 10-step process for handling a hacked WordPress website below.
Complete 10-step process for handling a hacked WordPress site
This process requires you to have basic knowledge of server administration (VPS/Server) and using the command line (CLI). Please follow the steps in order to avoid missing any malware.
Step 1: Install and configure Wordfence CLI
Wordfence CLI is a professional open-source malware scanning tool that runs from the command line, helping you scan millions of files much faster than a typical plugin. First, configure its free license on the server:
wordfence configureStep 2: Scan to detect files containing malware
Run a quick scan command to compare against the database of known malware signatures. The scan results will be exported to a CSV file so you can easily monitor them:
wordfence malware-scan --output-format=csv \
  --output-path=/home/DOMAIN/public_html/wordfence-scan-\\$(date +%Y%m%d-%H%M%S).csv \
  /home/DOMAIN/public_html/
If you suspect malware has spread to static files (such as images or the theme's custom JavaScript files), run a deep scan of the entire site:
wordfence malware-scan --include-all-files \
  --output-path=/home/DOMAIN/public_html/wordfence-scan-full-\\$(date +%Y%m%d-%H%M%S).log \
  /home/DOMAIN/public_html/
Step 3: Put the website into maintenance mode
To prevent hackers from continuing to interfere or steal customer information during the cleanup process, you need to enable maintenance mode using WP-CLI:
wp maintenance-mode activate --allow-root --path=/home/DOMAIN/public_htmlStep 4: Review the list of Admin accounts
List all accounts with the highest privileges on the website:
wp user list --role=administrator --allow-root --path=/home/DOMAIN/public_htmlPay attention to accounts with unusual emails or registration dates that coincide with the time the website began showing signs of interference. You should record the IDs of these fake accounts but do not delete them yet, we will remove them in the next step after cleaning the backdoor files.
Step 5: Remove malicious files and fake accounts
Based on the scan results from Step 2, locate and delete the malicious files. They are often disguised as:
- Fake plugins: A suspicious plugin directory containing code that calls functions to automatically create admin users. Delete the entire directory:
rm -rf /home/DOMAIN/public_html/wp-content/plugins/ten-plugin-gia - Must-Use Plugins (Mu-plugins): Located in the directory
wp-content/mu-plugins/. These files run automatically without appearing in the WordPress plugin management list. Delete the suspicious file:rm /home/DOMAIN/public_html/wp-content/mu-plugins/file-doc-hai.php
After cleaning up the backdoor files that create accounts, delete the fake admin accounts and reassign post ownership (if any) to the legitimate admin:
wp user delete ID_GIA --reassign=ID_ADMIN_THAT --allow-root --path=/home/DOMAIN/public_htmlStep 6: Clean up malware in the Database
Many types of malware are not stored in physical files but instead save their payload directly in the database (for example, auto-loaded options in wp_options or by injecting advertising scripts into post content in wp_posts).
Check for options containing dangerous execution functions:
wp db query "SELECT option_id, option_name FROM wp_options WHERE option_value LIKE '%base64_decode%' OR option_value LIKE '%eval(%';" --allow-root --path=/home/DOMAIN/public_htmlCheck posts injected with malicious scripts:
wp db query "SELECT ID, post_title FROM wp_posts WHERE post_content LIKE '%Hãy xóa các option độc hại tìm được bằng lệnh: wp option delete ten_option --allow-root --path=/home/DOMAIN/public_html
Bước 7: Kiểm tra file wp-config.php và .htaccess
Đọc kỹ file .htaccess và wp-config.php để đảm bảo không bị chèn các đoạn mã chuyển hướng hoặc code thực thi lạ ở đầu file:
cat /home/DOMAIN/public_html/.htaccess
cat /home/DOMAIN/public_html/wp-config.php | grep -v "^\s*//" | grep -v "^\s*\$"
Bước 8: Khôi phục Core WordPress sạch bằng WP-CLI
Để chắc chắn toàn bộ file core của WordPress không bị hacker sửa đổi, bạn hãy chạy lệnh ghi đè lại core sạch từ máy chủ WordPress.org (bỏ qua thư mục wp-content):
wp core download --version=\$(wp core version --allow-root) --force --skip-content --allow-root --path=/home/DOMAIN/public_htmlBước 9: Thay đổi mật khẩu và cập nhật lại Salts Key
Việc làm mới Salts Key trong file wp-config.php sẽ lập tức hủy toàn bộ các phiên đăng nhập hiện tại, buộc hacker phải đăng xuất khỏi hệ thống ngay lập tức:
wp config shuffle-salts --allow-root --path=/home/DOMAIN/public_htmlSau đó, tiến hành đổi mật khẩu cho toàn bộ tài khoản Admin thật còn lại:
wp user update ID_ADMIN --user_pass="MatKhauMoiSieuBaoMat@2026" --allow-root --path=/home/DOMAIN/public_htmlĐồng thời, đổi mật khẩu MySQL database và cập nhật lại thông tin kết nối mới trong file wp-config.php.
Bước 10: Quét lại hệ thống và tắt chế độ bảo trì
Chạy lại Wordfence CLI để xác nhận hệ thống hoàn toàn sạch mã độc:
wordfence malware-scan --include-all-files --output-path=/home/DOMAIN/public_html/wordfence-scan-final.log /home/DOMAIN/public_html/Khi kết quả trả về hoàn toàn sạch sẽ, tắt chế độ bảo trì để đưa website trở lại hoạt động bình thường:
wp maintenance-mode deactivate --allow-root --path=/home/DOMAIN/public_html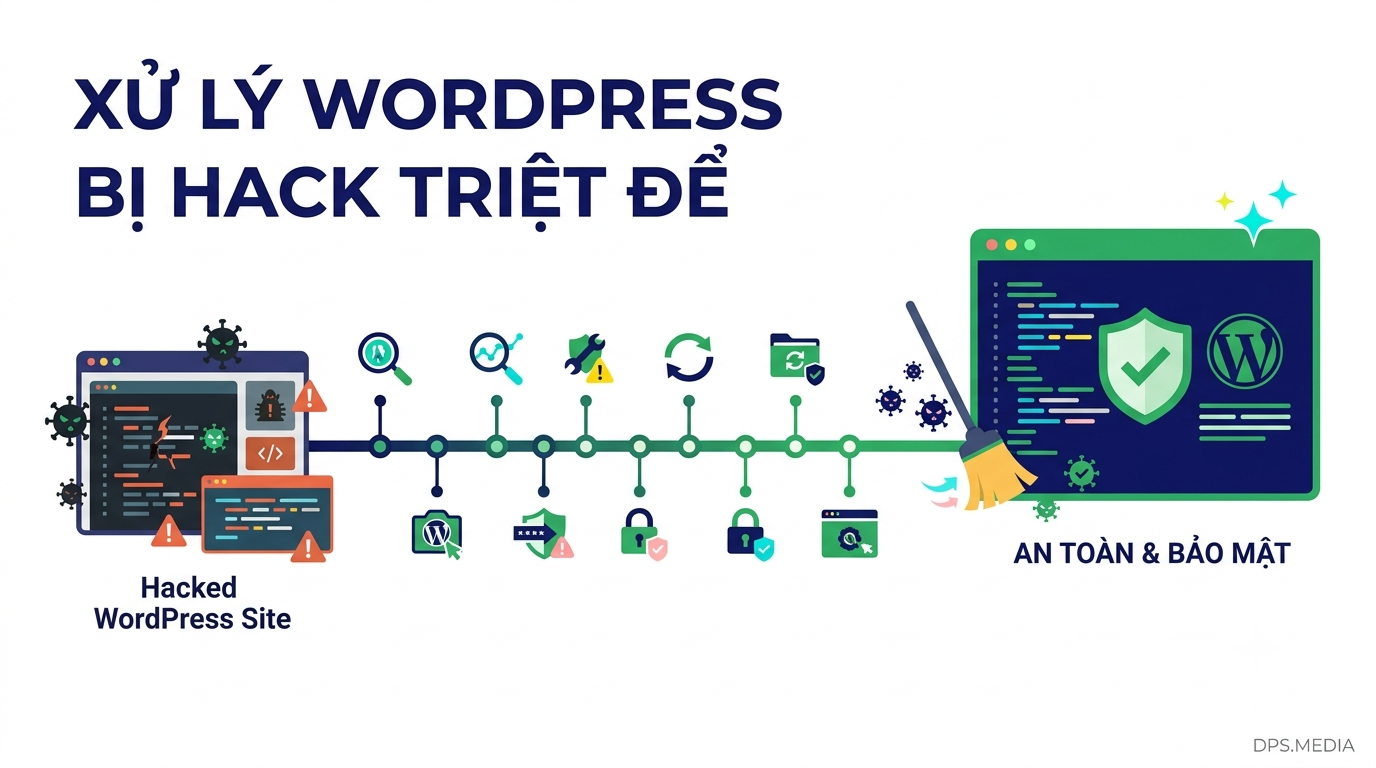
Gia cố bảo mật sau khi xử lý mã độc
Dọn dẹp mã độc mới chỉ là phần ngọn. Nếu không bịt các kẽ hở bảo mật, website sẽ nhanh chóng bị hack trở lại. Hãy thực hiện ngay hai hành động sau:
- Phân quyền file an toàn: Thiết lập quyền thư mục là
755, file là644, và filewp-config.phplà400hoặc600để ngăn chặn việc ghi đè trái phép. - Chặn chạy file PHP trong thư mục Uploads: Đây là nơi hacker hay lưu trữ webshell nhất. Hãy tạo file
.htaccessbên trong thư mụcwp-content/uploads/với nội dung chặn thực thi PHP:deny from all
Bên cạnh đó, bạn nên tham khảo thêm các khuyến nghị bảo mật chính thức từ tài liệu Hardening WordPress chính thức để xây dựng một hàng rào bảo vệ vững chắc cho website của mình.
Nếu bạn không có nhiều thời gian quản trị kỹ thuật hoặc lo lắng về việc dọn dẹp không triệt để, hãy liên hệ ngay với DPS.MEDIA qua Hotline/Zalo 0961545445 hoặc trực tiếp tại văn phòng: 56 Nguyễn Đình Chiểu, Phường Tân Định, Quận 1, TP. Hồ Chí Minh để được hỗ trợ. Chúng tôi cung cấp dịch vụ thiết kế website WordPress chuyên nghiệp chuẩn SEO, bảo mật cao và vận hành ổn định, giúp doanh nghiệp an tâm phát triển kinh doanh mà không lo ngại về các sự cố an ninh mạng.
Ý kiến bạn đọc (9)
Đăng nhập để bình luận
Đăng nhập nhanh 1-chạm bằng Google để chia sẻ ý kiến của bạn về bài viết.
Bằng cách đăng nhập, bạn đồng ý với điều khoản và chính sách cộng đồng.
Chưa có bình luận nào. Hãy là người đầu tiên chia sẻ cảm nghĩ!
Đăng nhập / Tạo tài khoản
Đăng nhập với Google để gửi bình luận và tương tác cùng cộng đồng.
Tiếp tục là đồng ý với điều khoản sử dụng và chính sách bảo mật của DPS Media.