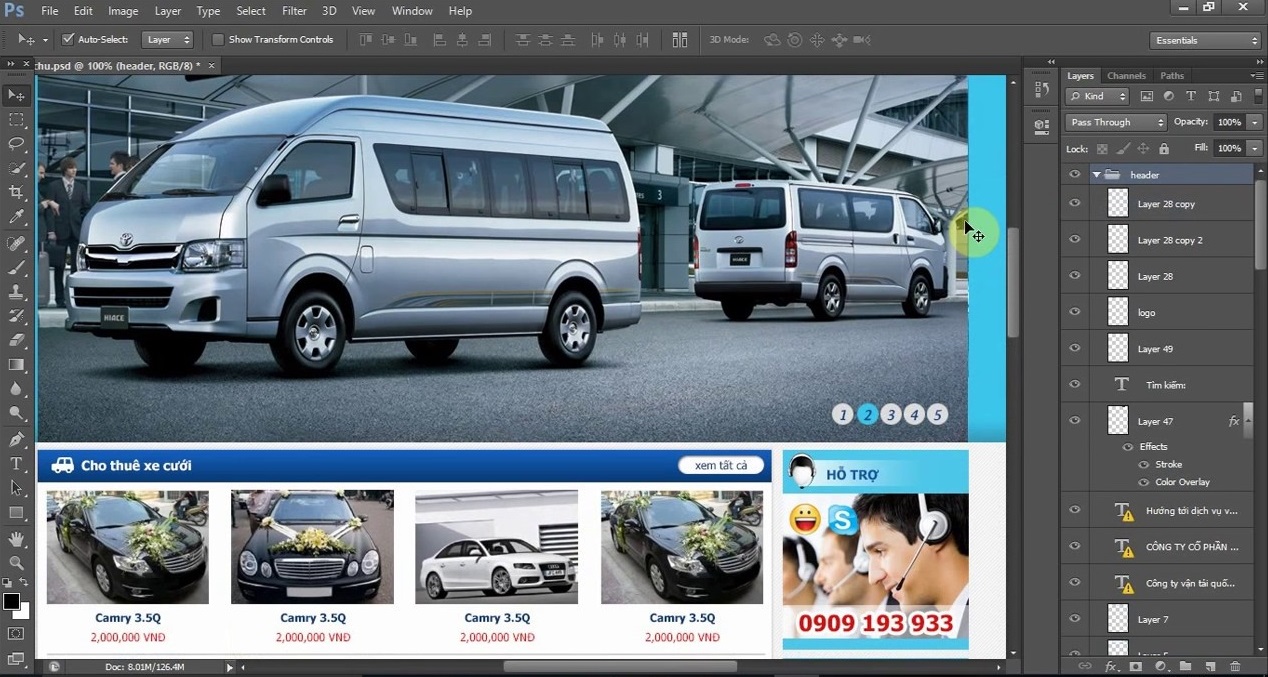
Thiết kế giao diện website là một bước quan trọng để tạo ra trải nghiệm người dùng hấp dẫn và chuyên nghiệp. Trong số nhiều công cụ thiết kế, Adobe Photoshop là một lựa chọn phổ biến nhờ khả năng tạo ra hình ảnh chất lượng cao và dễ dàng điều chỉnh chi tiết. Bài viết này sẽ giúp bạn tìm hiểu cách để thiết kế giao diện website bằng photoshop với các bước đơn giản
Lý do chọn Photoshop để thiết kế giao diện website
Photoshop không chỉ là công cụ mạnh mẽ về xử lý hình ảnh mà còn có khả năng hỗ trợ thiết kế giao diện website một cách linh hoạt và chi tiết. Với hàng loạt các tính năng như tạo lớp (layer), công cụ vẽ vector, và khả năng xuất file đa dạng, Photoshop giúp các nhà thiết kế dễ dàng tạo ra giao diện ấn tượng, đáp ứng nhu cầu thị giác và trải nghiệm người dùng.
Các công cụ cần chuẩn bị để bắt đầu thiết kế giao diện website bằng photoshop
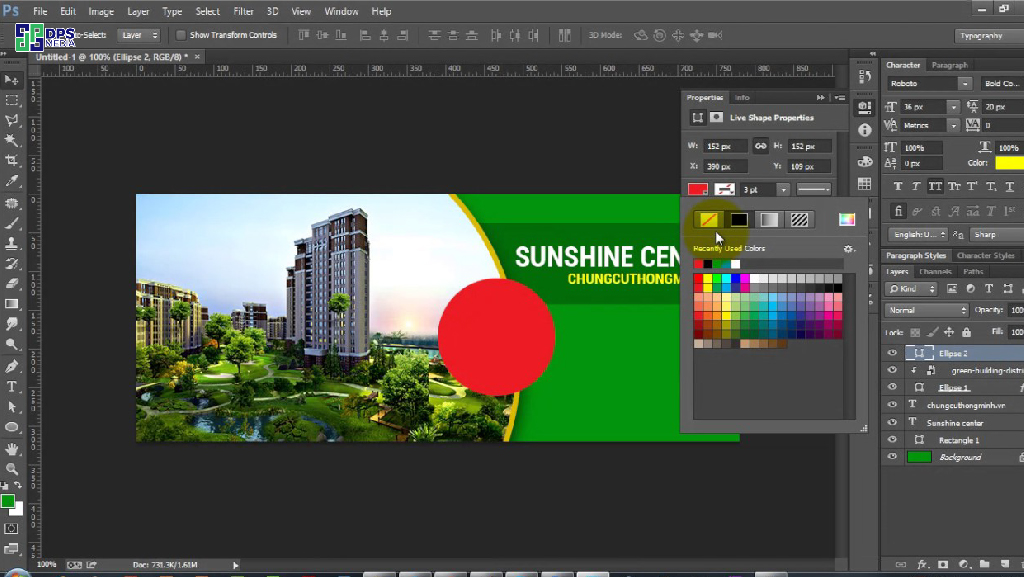
Để tạo ra một thiết kế web ấn tượng, bạn cần chuẩn bị đầy đủ “vũ khí”. Đầu tiên, hãy trang bị cho mình phần mềm Adobe Photoshop phiên bản mới nhất. Đây là công cụ không thể thiếu để tạo ra những hình ảnh và giao diện đẹp mắt. Bên cạnh đó, đừng quên chuẩn bị bộ font chữ và bảng màu phù hợp với phong cách và chủ đề của dự án. Cuối cùng, hãy tìm kiếm những nguồn cảm hứng từ các website có giao diện ấn tượng để có thêm ý tưởng mới lạ.
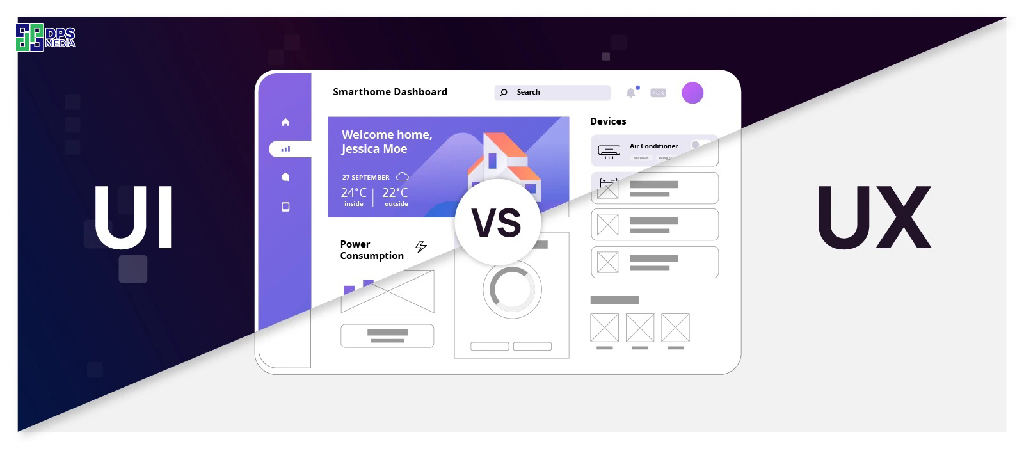
Phân biệt giữa thiết kế UX và UI trong giao diện website
Khi thiết kế giao diện web, bạn sẽ thường xuyên nghe đến hai thuật ngữ UX và UI. Vậy chúng khác nhau như thế nào? UX (User Experience) tập trung vào việc tạo ra trải nghiệm người dùng thật sự tuyệt vời. Điều này bao gồm việc thiết kế giao diện dễ sử dụng, trực quan và đáp ứng nhu cầu của người dùng. Còn UI (User Interface) lại chú trọng đến phần nhìn của giao diện, bao gồm bố cục, màu sắc, hình ảnh, font chữ… để tạo nên một giao diện đẹp mắt và thu hút.
Các bước thiết kế giao diện website bằng Photoshop
Bước 1: Xác định phong cách và mục tiêu của website
Bạn có muốn website của mình gây ấn tượng ngay từ cái nhìn đầu tiên? Hãy bắt đầu bằng việc xác định phong cách thiết kế. Bạn thích sự tinh tế, đơn giản của phong cách tối giản, hay sự năng động, hiện đại của phong cách trẻ trung? Hãy nhớ, phong cách không chỉ là màu sắc và hình ảnh, mà còn là cách bạn kể câu chuyện thương hiệu của mình.
Bước 2: Xây dựng khung layout cơ bản cho website khi thiết kế giao diện bằng photoshop
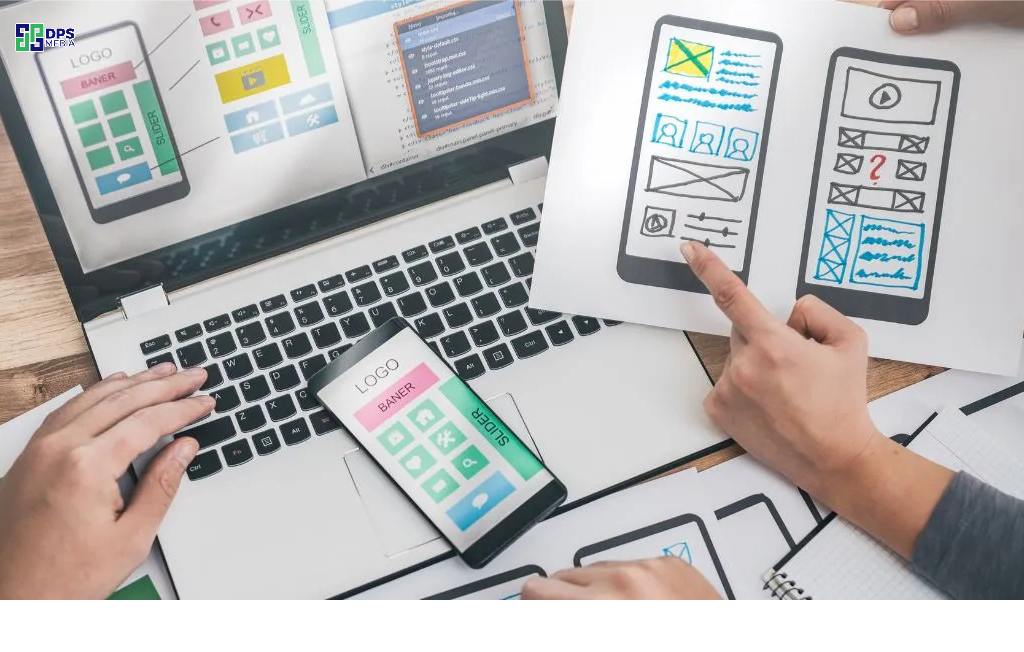
Layout là khung xương của website, giúp định hình các thành phần chính như header, footer, menu và phần nội dung chính. Bằng cách sử dụng công cụ “Rectangle Tool” trong Photoshop để thiết kế ra các khối hình chữ nhật, đại diện cho header, footer, sidebar và khu vực nội dung chính của website. Nhớ tuân thủ các nguyên tắc thiết kế cơ bản như cân bằng và tỷ lệ để tạo ra một layout hài hòa và dễ nhìn.
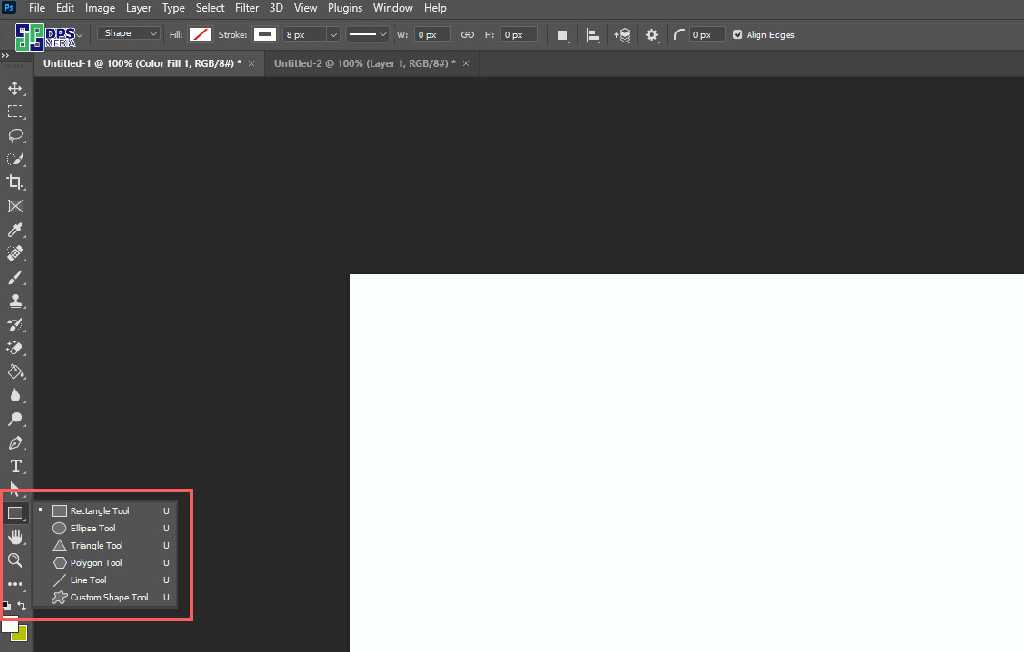
Bước 3: Chọn màu sắc chủ đạo và bố cục
Màu sắc là yếu tố quan trọng trong thiết kế giao diện. Photoshop cho phép bạn dễ dàng áp dụng các màu sắc thông qua công cụ “Color Picker”. Chọn một bảng màu phù hợp với thông điệp của website và không nên sử dụng quá nhiều màu để tránh làm giao diện rối mắt.
Bước 4: Thiết kế các thành phần cơ bản như menu, header, footer
Bắt đầu thiết kế các thành phần chính như menu, header và footer. Photoshop cung cấp các công cụ giúp tạo ra những nút bấm và biểu tượng theo phong cách riêng, giúp giao diện thêm phần sinh động.
Learn more: Thiết Kế Website WordPress: Lựa Chọn Của Sự Thành Công
Bước 5: Sử dụng lưới (grid) để căn chỉnh các thành phần khi thiết kế giao diện website bằng photoshop
Lưới như một “vị cứu tinh” giúp bạn sắp xếp các phần tử trên giao diện một cách cân đối và chuyên nghiệp. Bằng cách sử dụng lưới, bạn có thể dễ dàng căn chỉnh các hình ảnh, văn bản theo chiều ngang, chiều dọc hoặc tạo ra các bố cục đối xứng. Để bật lưới trong Photoshop, bạn chỉ cần vào menu “View”, chọn “Show” và sau đó chọn “Grid”. Hãy thử áp dụng lưới vào thiết kế của bạn và cảm nhận sự khác biệt nhé!
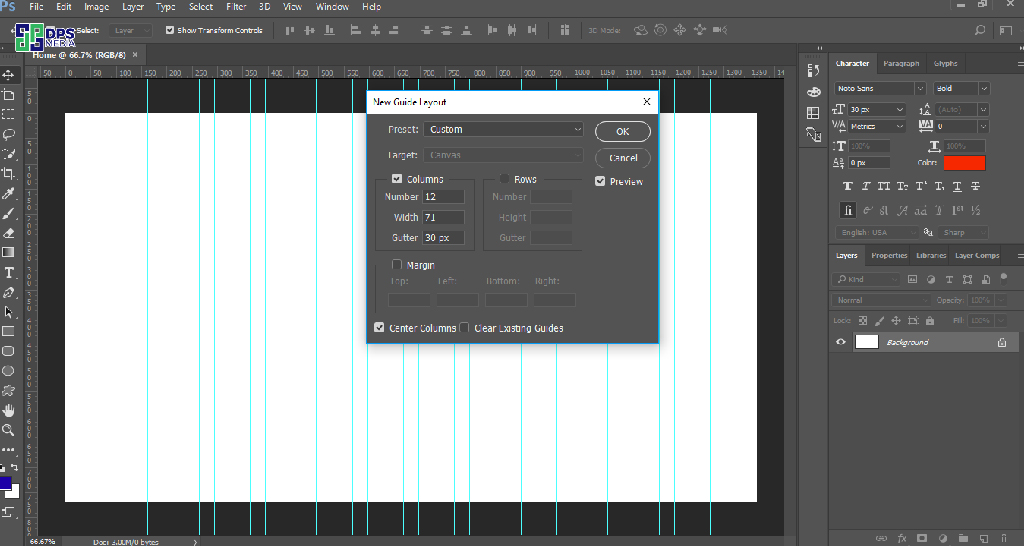
Bước 6: Thêm nội dung và hình ảnh minh họa
Đây là lúc bạn biến thiết kế của mình thành hiện thực! Hãy chèn những hình ảnh chất lượng cao, sắc nét và nội dung hấp dẫn, dễ hiểu để thu hút người dùng. Đừng quên tối ưu hóa hình ảnh để website tải nhanh hơn. Và quan trọng nhất, hãy đảm bảo mọi thứ được sắp xếp theo đúng bố cục đã thiết kế để tạo ra một trải nghiệm trực quan và liền mạch cho người dùng.
Bước 7: Tạo các hiệu ứng cho hình ảnh và văn bản
Thay vì chỉ đơn thuần là hình ảnh và văn bản, hãy biến giao diện website của bạn trở nên sống động hơn bằng cách thiết kế thêm các hiệu ứng như bóng đổ, ánh sáng có sẵn trong photoshop. Những hiệu ứng này không chỉ giúp các thành phần nổi bật mà còn tạo ra chiều sâu và tăng tính thẩm mỹ cho tổng thể thiết kế.
Bước 8: Kiểm tra và tinh chỉnh giao diện khi thiết kế giao diện website bằng photoshop
Sau khi đã hoàn thành thiết kế, hãy dành thời gian để kiểm tra lại từng thành phần một. Đảm bảo rằng tất cả mọi thứ đều hoạt động trơn tru và đúng như ý muốn. Hãy tinh chỉnh lại những chi tiết nhỏ nhất để tạo nên một giao diện hoàn hảo.
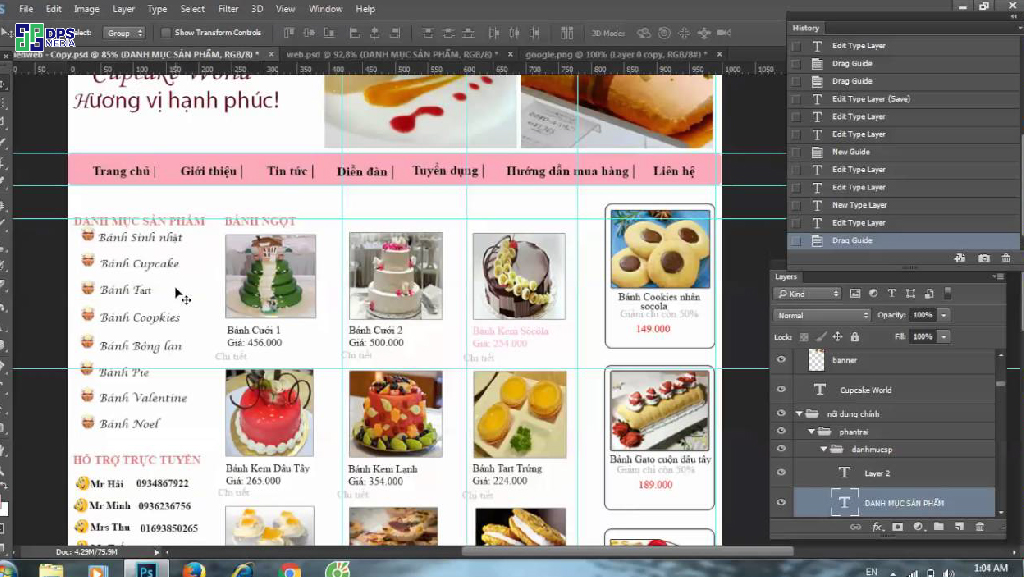
Bước 9: Tối ưu hóa file Photoshop cho việc chuyển giao
Khi bạn đã hoàn toàn hài lòng với thiết kế của mình, hãy lưu lại file với định dạng phù hợp để chuyển giao cho các nhà phát triển. Photoshop cung cấp nhiều lựa chọn như PNG, JPEG hoặc PDF. Hãy chọn định dạng phù hợp nhất với yêu cầu của dự án.
Conclusion
Thiết kế giao diện website bằng Photoshop là một quy trình quan trọng, giúp bạn tạo ra những trải nghiệm độc đáo và thu hút người dùng. Tuy nhiên, để sở hữu một website hoàn chỉnh, hiệu quả, và được tối ưu hóa chuẩn SEO, bạn có thể cần sự hỗ trợ từ các chuyên gia.
Nếu bạn đang tìm kiếm một dịch vụ thiết kế website chuyên nghiệp, hãy để DPS Media đồng hành cùng bạn. Chúng tôi cam kết mang đến những giải pháp thiết kế website độc đáo, đáp ứng mọi nhu cầu doanh nghiệp và nâng cao thương hiệu của bạn. Hãy liên hệ với chúng tôi ngay hôm nay để bắt đầu hành trình xây dựng website ấn tượng và tối ưu!

